

BRAAP SCOTLAND • FILMING • ACTION CAMERAS
Action cameras are one of the easiest ways to make off-road riding footage more immersive, but simply bolting a camera to your helmet does not automatically make an interesting video. The biggest improvement usually comes from changing the angle, thinking about what the viewer needs to see and using each position for a different job.
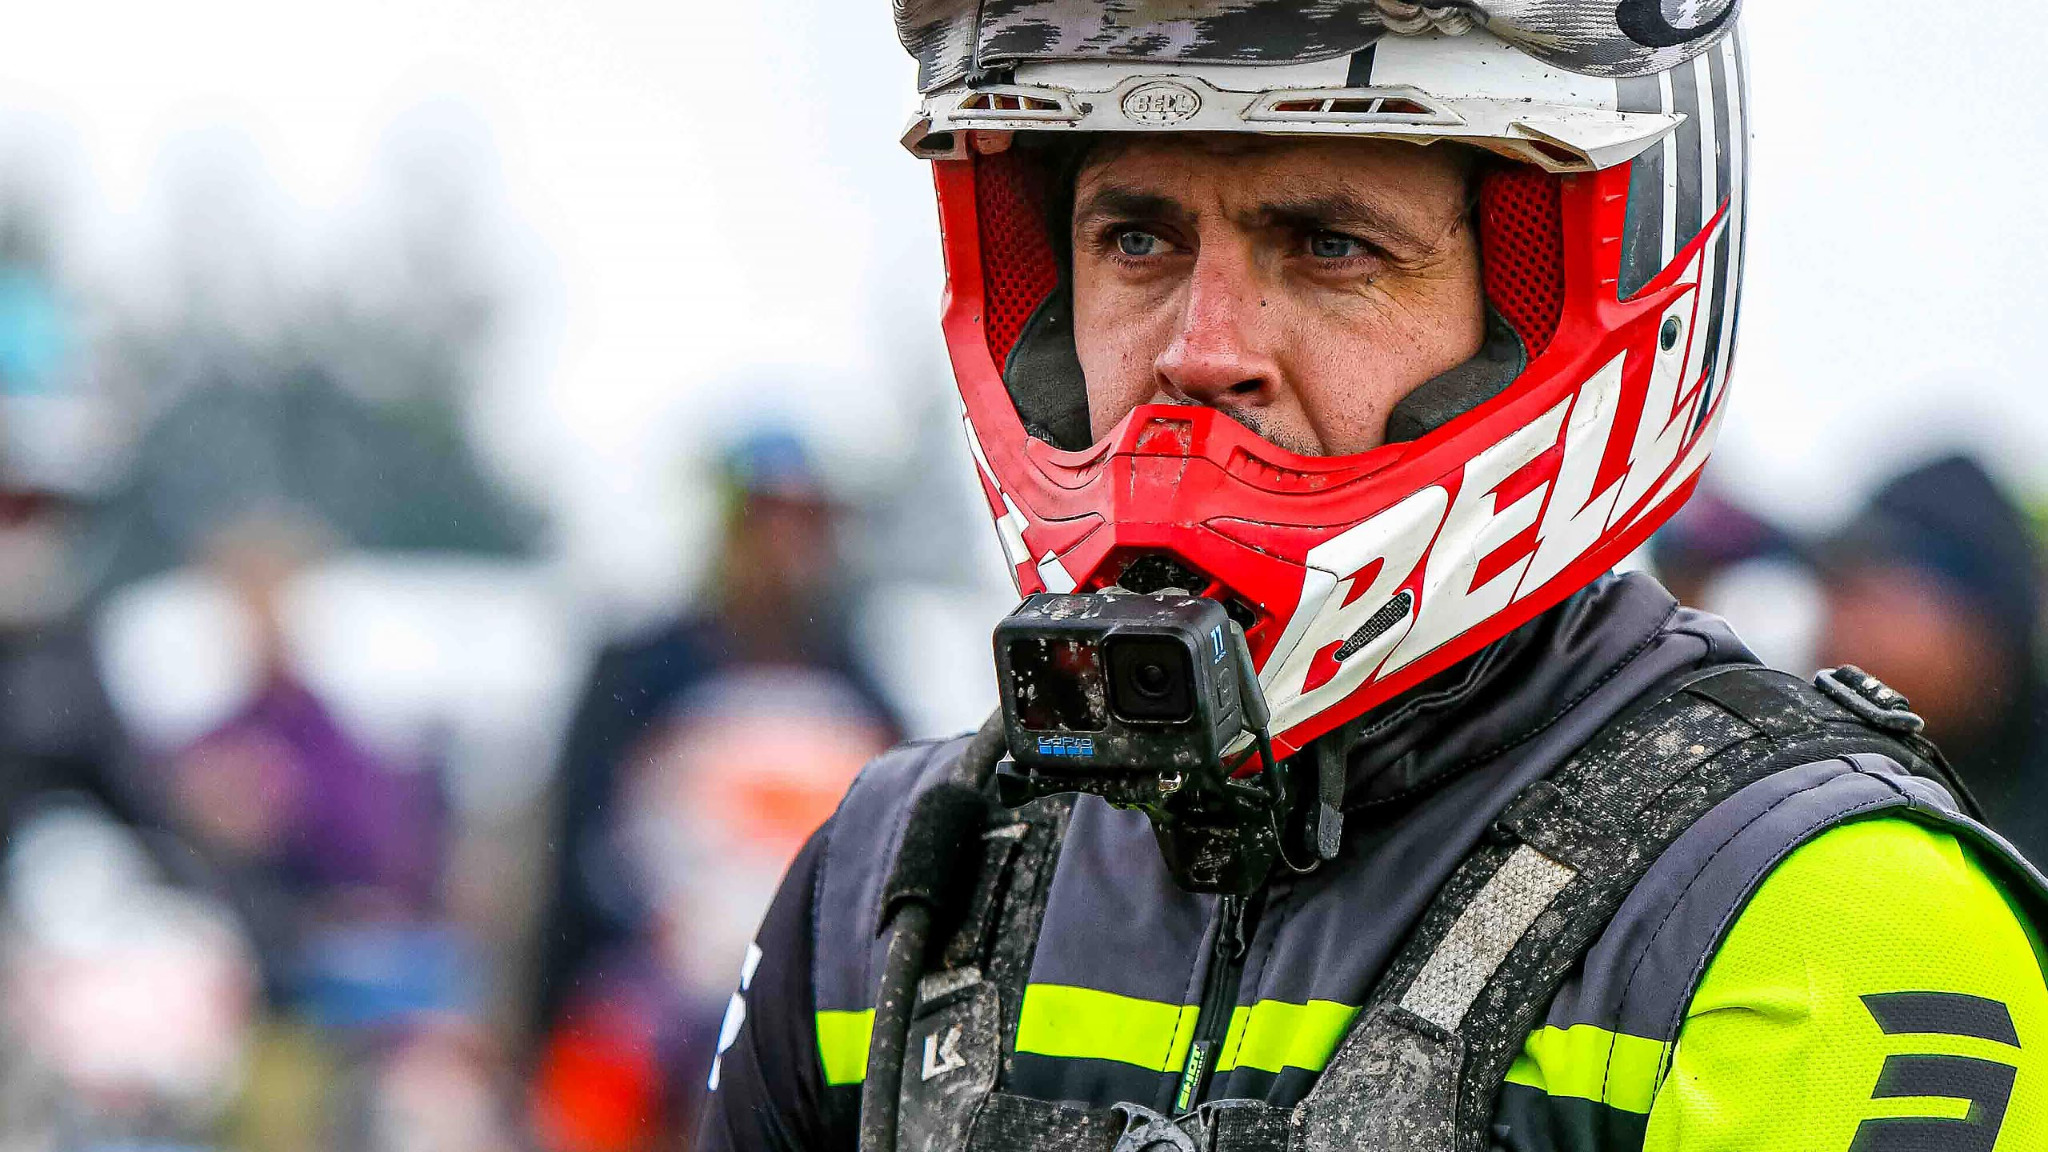
The simple rule: one camera angle rarely tells the whole story.
Helmet POV shows what the rider sees. Bike-mounted shots show movement. Low angles show speed and terrain. Third-person shots put the rider back into the environment.
Start with helmet POV
For Enduro and Motocross, a helmet-mounted camera is usually the most natural first-person view. A chin position tends to feel closer to the rider's eye line than a camera mounted high on top of the helmet, while keeping the bike, bars and trail in the frame.
The mistake is leaving it there for everything. Long uninterrupted POV can quickly become repetitive, especially when the rider is moving their head constantly or the terrain looks flatter on camera than it felt on the bike.
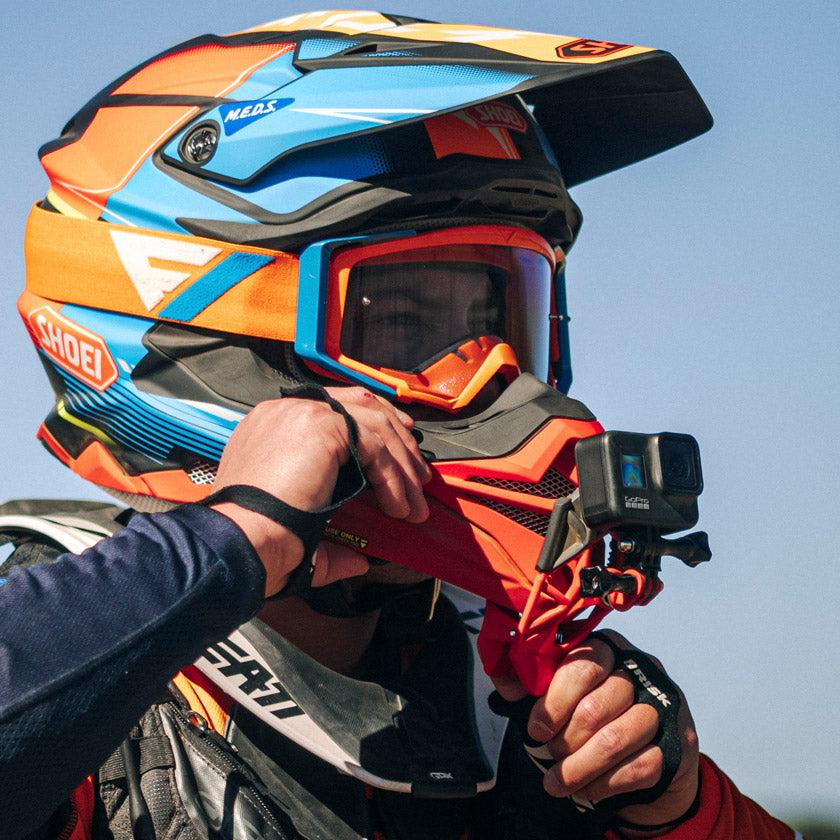
Use the bike for a different sense of speed
Moving the camera onto a secure part of the motorcycle changes the feeling immediately. A lower view close to a wheel, fork or bodywork can make bumps, water, mud and speed feel much more dramatic than a helmet view.
Keep the camera clear of moving parts, hot components and anything that could interfere with steering, suspension or the rider. Check the mount before every run.
Get low
One of the easiest ways to make action-camera footage feel more cinematic is to lower the camera. Positioning it closer to the ground exaggerates movement through ruts, mud, stones and water and gives the viewer a much better sense of how rough the terrain actually is.
For Enduro in particular, low shots can show the surface and bike movement far better than another chest-height view.
Step outside the rider's point of view
Third-person footage is what stops an action-camera edit becoming a long onboard video. Where it is safe and permitted, place the camera at a secure trackside or trailside position and ride through the shot.
That gives the viewer scale: the hill, the rut, the trees, the jump, the weather and the rider's line through it. A few well-placed static shots can transform an edit.
01 — POV
Best for putting the viewer on the bike and showing the rider's line.
02 — Bike mount
Useful for speed, suspension movement and a different sense of motion.
03 — Low angle
Shows terrain, mud, water and wheel movement more dramatically.
04 — Third person
Puts the rider back into the landscape and gives the edit context.
Think about the edit before you ride
If you know you want a short film rather than one continuous lap, capture pieces that can cut together. A helmet section, a low bike-mounted section and one or two third-person passes already give you enough variation to make a much stronger sequence.
It also helps to think about direction. If the rider travels left-to-right in one shot, cutting straight to another shot with the rider travelling the opposite way can feel strange unless the edit is deliberately changing direction.
Stabilisation helps, but framing still matters
Modern GoPro, DJI and Insta360 cameras have very good stabilisation, but they cannot fix a poor angle. Before riding, sit naturally on the bike and check where the horizon falls. A camera aimed too far down gives you handlebars and front mudguard; too far up gives you sky and tree tops.
Do a short test clip before committing to a full session. Five seconds checking the frame can save an entire ride of unusable footage.
Frame wider than you think
Off-road riding moves quickly and the rider rarely stays perfectly centred. A slightly wider field of view gives stabilisation more room to work and makes it less likely that important parts of the bike or trail disappear from frame.
For social media, remember that a horizontal shot may later need to be cropped vertically. If you know you want Reels or Shorts, keep the subject nearer the centre or use a mount that allows the camera to be rotated into portrait orientation.
Audio can make the footage feel far better
Wind noise is one of the quickest ways to make good footage feel cheap. A helmet or bike-mounted camera is exposed to constant airflow, so make sure wind reduction is enabled where appropriate and keep microphones protected.
For many riding edits, clean engine and terrain sound is more useful than trying to capture speech at speed. Rider comments can always be recorded separately in the paddock or between runs.
Battery and storage disappear quickly
High-resolution, high-frame-rate recording is demanding. Carry spare batteries or an external power option where practical, and use memory cards large enough for the session. Cold weather can also reduce battery performance.
It is worth stopping the camera between useful sections rather than recording hours of paddock, queues and stationary footage that you then need to search through later.
A movable mount gives you more options
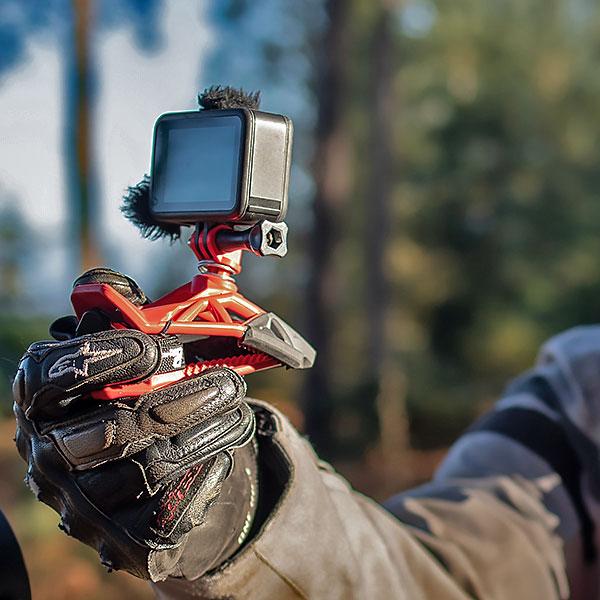
Permanent adhesive mounts work well when you have one position you use repeatedly, but a removable clamp mount can be useful when you want to change angles during the day.
The Dango Gripper was originally developed around motocross and off-road motorcycle use. It can be moved between suitable helmet, motorcycle and other secure mounting positions using a GoPro-style connection, which makes it useful when you want several viewpoints from one camera setup.
Whatever mount you use, make sure it is secure, does not interfere with the rider or motorcycle and is suitable for the surface you are attaching it to. A safety tether is also sensible when riding.
What makes action-camera footage worth watching?
It is rarely the camera itself. The strongest riding videos use the action camera to show something the viewer could not otherwise experience: the rider's line through a section, the violence of the terrain, the speed close to the ground or the scale of the course around them.
Use POV as one part of the story, move the camera when the shot needs to change, and record fewer angles with a purpose rather than hours of the same view.
BRAAP FILMING GUIDE
One camera. More useful footage.
Start with POV, then change perspective. The viewer does not need another hour of the same helmet angle.
SEE MORE CAMERA ANGLES → WATCH BRAAP FILMS →